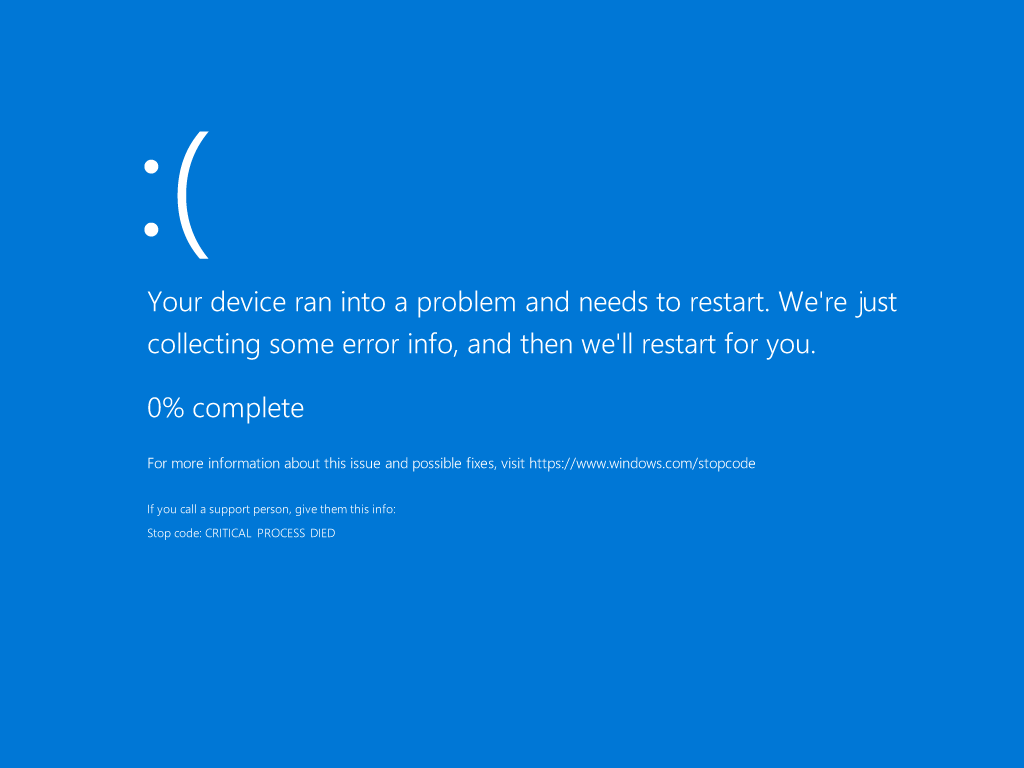
Your device ran into a problem and needs to restart is one of the most common Windows 7, Windows 10 and Windows 11 errors you will see. Encountering a Blue Screen of Death (BSoD) can be a disconcerting experience, as it signifies a critical error that forces your computer to shut down or restart unexpectedly, over and over again. This disruptive event, also known as a stop error, can manifest as a distinctive blue screen on Windows 10 and earlier versions or as a black screen on Windows 11. The accompanying message often informs users that their device has run into a problem and necessitates a restart. Resolving such issues requires a systematic approach to troubleshooting, involving both software and hardware diagnostics to pinpoint and rectify the underlying cause of the stop error.
In the following article, we will delve into the common methods employed to address a Blue Screen of Death on Windows devices. From analyzing error codes to utilizing built-in diagnostic tools, understanding the nuances of these stop errors can empower users to navigate the troubleshooting process effectively. Whether the root cause lies in incompatible drivers, faulty hardware, or corrupted system files, a comprehensive guide will be provided to assist users in resolving the issue and restoring the stability of their computer systems.
Power Cycle Your Windows Device
Resetting a computer or phone by following this series may help you to fix the problem that your device has ran into. When dealing with issues like a Blue Screen of Death, there are many solutions that may work to fix the issue. This is by far the simplest way to troubleshoot a computer, and is luckily the one of the most reliable ways to troubleshoot your device. Below is a step by step tutorial on how to reset your device.
Shutdown and Power Off: Begin by turning off your computer. If it's unresponsive, press and hold the power button for 10 seconds until the system powers down completely. This action ensures that all processes are halted, providing a clean start for the troubleshooting process.
Disconnect Power Sources: For laptops, unplug the AC adapter, and if applicable, remove the battery. For desktops (such as Dell), disconnect the power cable. This step ensures that there is no residual power in the system, which can sometimes cause unexpected issues.
Drain Residual Power: To drain any remaining power from the system, press and hold the power button for 15 to 20 seconds. This step is crucial in resetting the hardware components and resolving potential electrical glitches that may be contributing to the problem.
Reconnect Power Sources: For Dell desktops, reconnect the power cable. For Dell laptops, plug in the AC adapter and reinsert the battery. This step restores the power sources necessary for the computer to function properly.
Power On: Finally, turn on your computer. If the previous issues were related to temporary glitches or electrical anomalies, this procedure should provide a clean slate for the system to boot up successfully.
By following these steps, you perform a power cycle that can help resolve certain hardware and software issues, providing a basic but effective method for troubleshooting and restoring normal functionality to your computer. This should help at least start a base level of understanding to work towards fixing the issue even if it doesn't solve the problem initially.
Run a Windows 11 Diagnostic Check
2. Adhere to the on-screen prompts to initiate and complete the pre-boot diagnostic test. Should the tests yield positive results, confirming the proper functionality of the hardware devices, the problem likely stems from the operating system or installed software on your computer.
3. On the contrary, if the diagnostic test indicates a failure, take note of crucial information such as the Service Tag, error code, and validation code provided.
4. Proceed to look up the specific pre-boot diagnostic error code associated with your findings. This information will serve as a key reference point in understanding and addressing the underlying hardware issue, aiding in a more targeted and effective troubleshooting process.
Still Running Into a Problem?
Run a Startup Repair
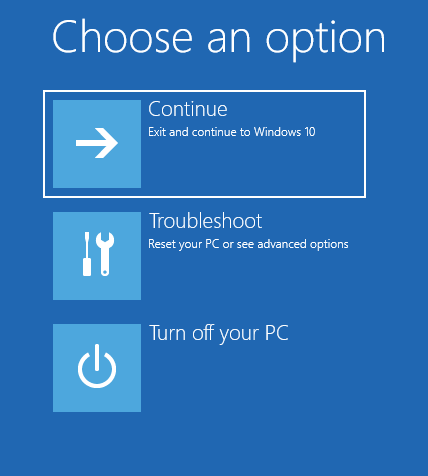
2. Navigate to the advance options menu
3. Click on Troubleshoot on the menu as listed to the right
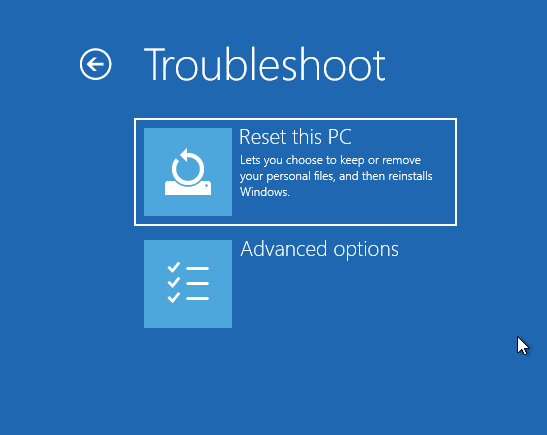
4. Click on Advanced Options
5. Click Start-Up Repair in the following menu.
6. Wait for the Start-Up repair module to run, make sure not to turn off your computer during this process.
7. Once it finishes, this may fix your issue. If not, record any information given and look up what that error might mean.
Restore Your Device To Factory Settings To Fix The Problem
- Create Installation Media: Obtain a bootable USB drive or DVD containing the operating system you intend to install. You can usually download official installation tools from the operating system's official website.
- Insert Installation Media: Insert the bootable USB drive or DVD into the appropriate port on your computer.
- Restart Your Computer:
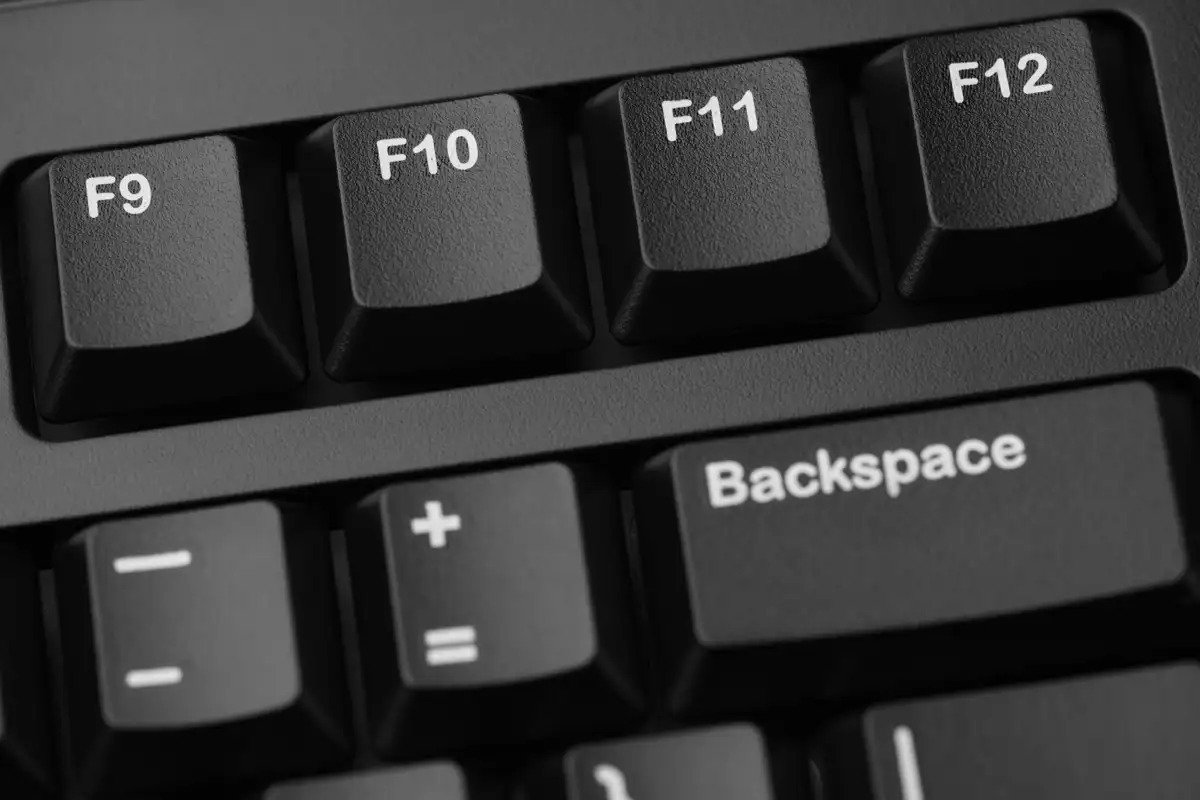
- Restart your computer and access the BIOS or UEFI settings. This is usually achieved by pressing a specific key during startup (commonly Esc, F2, F10, or Del). Consult your computer's manual for guidance.
- Change Boot Order:
- In the BIOS/UEFI settings, navigate to the Boot Order or Boot Priority section. Set the USB drive or DVD as the first boot option, ensuring the computer will boot from the installation media.
- Save Changes and Exit:
- Save the changes made to the boot order and exit the BIOS/UEFI settings. The computer will restart, booting from the installation media.
- Begin Installation:
- Follow the on-screen prompts to initiate the operating system installation. During this process, you will encounter options to format the existing drive. Choose the option to format and install a fresh copy of the operating system.
- Partition and Format:
- The installation process will prompt you to select a drive for installation. Choose the drive where the operating system is currently installed. You may need to delete existing partitions and create a new one.
- Complete Installation:
- Continue with the installation process, following the on-screen instructions to complete the setup. This may involve configuring language settings, user accounts, and other preferences.
- Install Drivers and Software:
- Once the operating system is installed, install necessary drivers for hardware components and any essential software. Retrieve drivers from the computer manufacturer's website for optimal compatibility.